Hills can make even a confident rider tense. Here is how to ride an ATV on hills: use a lower gear, keep your weight uphill when climbing, and move it back when going down.
If posture, controls and braking are still new to you, start with the guide on how to ride an atv and then come back here.
| Item | Technique |
|---|---|
| Climbing gear | Shift to a lower gear and speed up before the hill to maintain momentum |
| Climbing body position | Lean uphill; move up on the seat and lean forward, or stand over the front wheels |
| Descending body position | Weight to the rear of the machine, low gear |
| Braking on a descent | Both brakes, applied gradually |
| If the ATV begins to tip on a climb | Do not apply the back brakes |
| Traversing | Avoid excessively slippery, rough, or loose slopes |
The table summarises the University of Nebraska Medical Center’s ATV and UTV safety book and the Ohio Offroad Ed uphill transcript. Training advice can change, so check the sources and your owner’s manual before you rely on it.
Before the climb: judge the hill and set your posture
Start with a decision rather than a technique. The Ohio course material puts it plainly: if the hill looks too steep for your ATV or your abilities, it probably is, so use good judgment first (Offroad Ed, Ohio).
The same material warns that climbing can be dangerous if you skip the procedures in your owner’s manual. You could lose control of the ATV, or it could overturn.
Good posture is what lets you shift your weight quickly and reach the controls. The Utah course lists the basics (Offroad Ed, Utah):
- Head up and eyes looking far ahead.
- Hands on the handlebars.
- Feet on the footrests, toes pointing straight ahead.
Letting go with a hand or lifting a foot makes the ATV harder to control and can throw you off balance. Feet that drift off the footrests or drag on the ground can lead to serious injury if they end up under the rear wheels.
Visibility matters too. If you can’t see what is on or over the crest, slow down until you have a clear view (Offroad Ed, Ohio). Head protection is covered in the separate guide to the atv helmet.
Riding uphill: gear, momentum and weight
The Nebraska book and the Ohio course describe the same sequence for a climb (Nebraska Pressbooks):
- Shift into a lower gear before the slope, then speed up so you carry momentum into the climb.
- Lean your body uphill. Move up on the seat and lean forward, or stand with your torso over the front wheels.
- Keep as much weight as possible toward the front of the quad.
- Keep your feet on the footrests and your weight uphill while you climb.
If the engine starts to labour or sounds as if it might stall, shift into a lower gear. Do it quickly while briefly releasing the throttle, because that prevents the front wheels from lifting (Offroad Ed, Arizona).
Momentum is the reason for the order of those steps. Building speed before the slope means you are not hunting for power halfway up, when a gear change is hardest to manage.
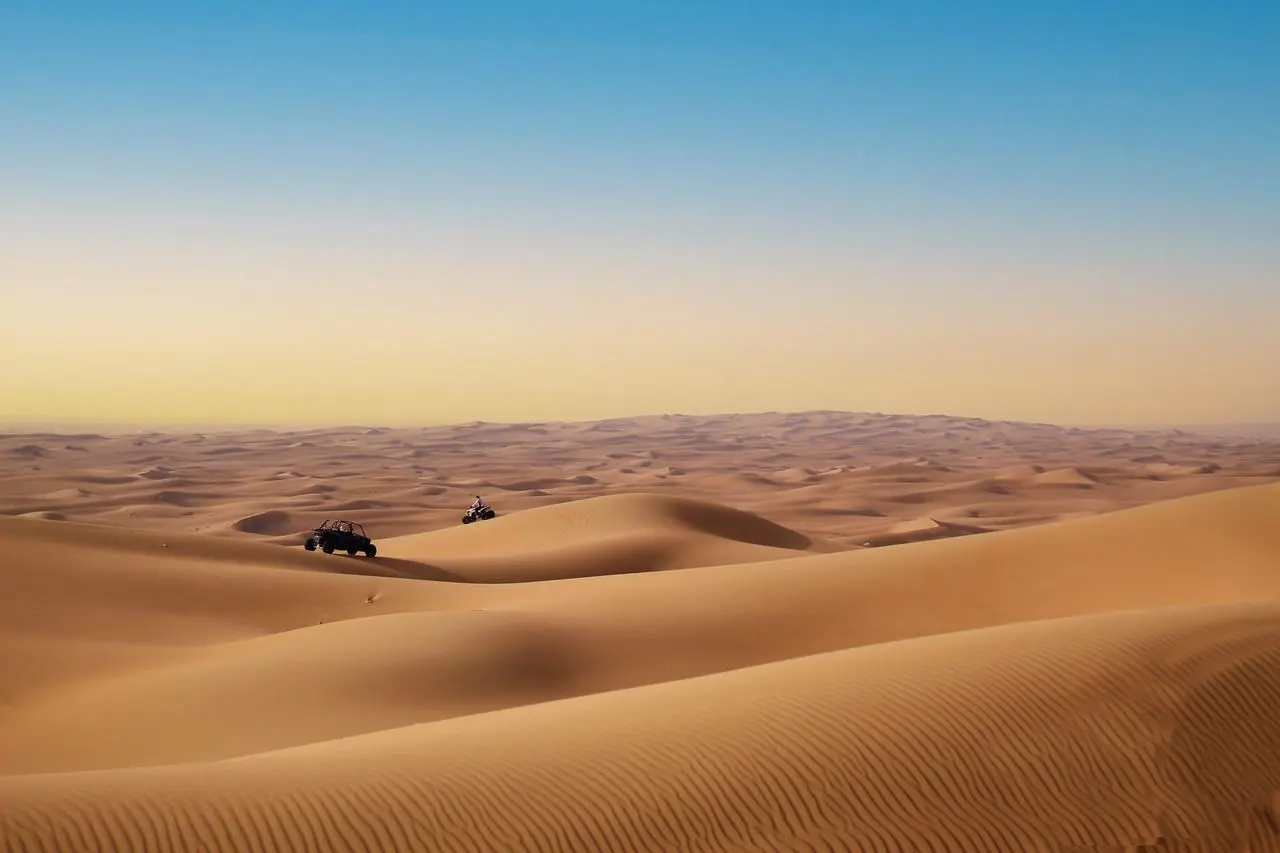
What if the ATV stalls or starts to tip on the climb?
Know your options before you need them. Each one depends on how much speed and room you have left.
If the ATV begins to tip
The Nebraska book says to turn the front wheel and proceed downhill in a lower gear, keeping your weight to the uphill side. Do not apply the back brakes, because this will cause the ATV to flip over (Nebraska Pressbooks).
If you run short of power but still have room
When you still have momentum and space to turn safely, keep your weight uphill and make a U-turn before you lose speed. Then head downhill in a lower gear, with your weight uphill or toward the top of the hill (Offroad Ed, Arizona).
If you lose all forward momentum
The Utah course gives this stalled-on-a-hill routine (Offroad Ed, Utah):
- Keep your weight forward and apply the brakes. Do not let the ATV roll backward.
- Set the parking brake while keeping your weight forward.
- Dismount on the uphill side of the ATV.
- Shift into neutral and turn off the engine.
- Hold the front brake and disengage the parking brake.
- Turn the handlebars sharply toward the middle of the hill.
- Slowly release the front brake until the ATV is parallel with the side of the hill.
- Set the parking brake and start the engine.
- Mount from the uphill side, keeping your weight uphill.
- Point the front wheels downhill, disengage the parking brake, and ride slowly down with your weight toward the rear.
The Arizona course adds that, after dismounting, you should continue with instructions from your owner’s manual, an authorized dealer, the vehicle’s manufacturer, or a nationally recognized hands-on training course (Offroad Ed, Arizona). Reading a routine is no substitute for practising it with a qualified instructor.
Riding downhill: weight back and both brakes
Going down reverses the weight shift. Shift your weight to the rear of the machine and use a low gear (Nebraska Pressbooks).
On steeper downward slopes the same source adds three things:
- Straighten, but do not lock, your knees and elbows.
- Bend forward sharply at the waist so that your posterior is over the back of the seat.
- Use both brakes to slow down gradually.
Seen side by side, the climb and the descent are mirror images. Uphill, your torso goes forward over the front wheels; downhill, your hips go back over the rear of the seat.
Traversing a slope: crossing instead of going straight
Crossing a slope rather than going directly up or down is called traversing, and the Nebraska book says it requires additional attention (Nebraska Pressbooks). It also advises you to avoid traversing slopes with excessively slippery, rough, or loose surfaces.
Surface is the deciding factor. Slick ground is covered in the guide on how to ride an atv through mud and water.
If a slope looks too steep or too loose, the sources agree on the answer: pick another route rather than test your limits on it.
Frequently asked questions
Do I lean forward or back on a hill?
Show answer
It depends on the direction. Climbing calls for your weight forward and uphill, while descending calls for it toward the rear of the machine.
Which brake should I avoid if the ATV starts to tip?
Show answer
Stay off the back brakes. The Nebraska book warns that using them in that situation can flip the ATV (Nebraska Pressbooks).
Should I change gear before or during a climb?
Show answer
Before, where you can. Select a lower gear at the base so you can speed up and keep momentum, and shift again only if the engine starts to labour.
How do I learn hill riding properly?
Show answer
The Arizona course points riders to their owner’s manual, an authorized dealer, the manufacturer, or a nationally recognized hands-on training course (Offroad Ed, Arizona). For licensing or legal questions, ask your local authority.